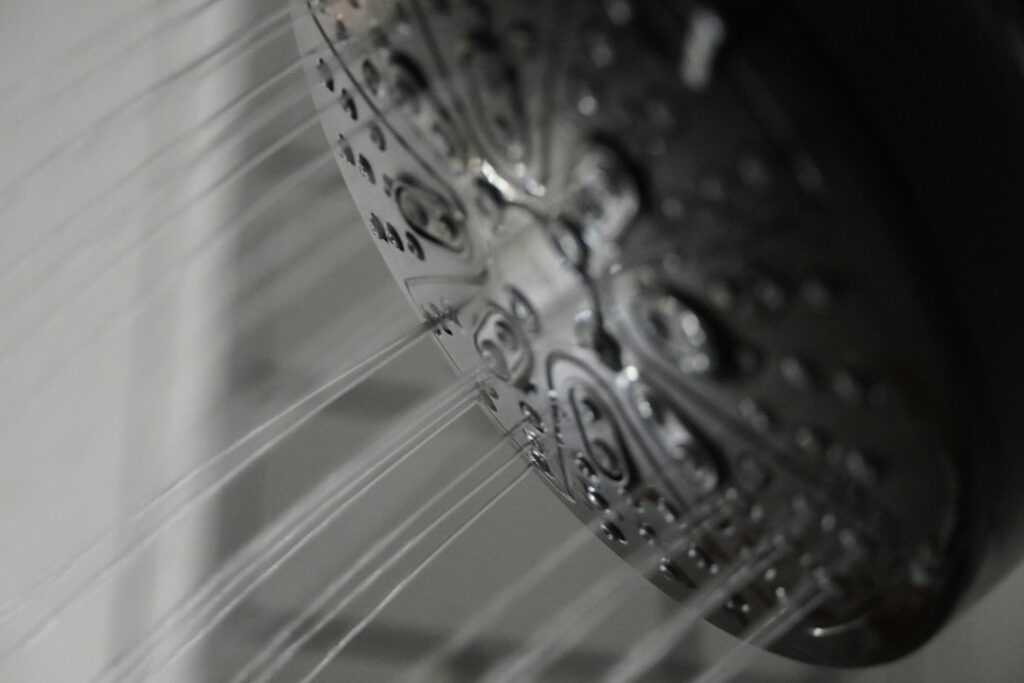
A new showerhead can refresh a bathroom, improve spray coverage, or reduce water use. Replacing the head is often a manageable homeowner project when the existing shower arm is sound and the new fixture is compatible. The key is to protect the finish, avoid twisting the pipe inside the wall, and follow the instructions for the exact showerhead you bought.
Featured photo: Caleb Wright on Unsplash.
Photo: Jan Antonin Kolar on Unsplash.
Before you start: check the showerhead and shower arm
Most simple replacements involve unscrewing the showerhead from the exposed shower arm and fitting a compatible replacement. Read the new product’s instructions first. Fixed heads, handheld kits, filtered heads, and models with diverters can use different washers, seals, and connection methods.
Look at the exposed pipe where it meets the old head. If the shower arm is visibly corroded, cracked, loose at the wall, or moves when you touch the head, do not force the connection. A damaged or loose arm can leak inside the wall; have a plumber inspect it before installing a new fixture.
Tools and supplies
- Replacement showerhead that matches the shower arm and your plumbing setup
- Adjustable wrench, if the old head cannot be loosened by hand
- Soft cloth or towel to protect the finish
- Small soft brush or cloth for cleaning exposed threads
- Plumber’s thread-seal tape (PTFE tape), only if the product instructions call for it
- Gloves and a towel to keep the work area dry
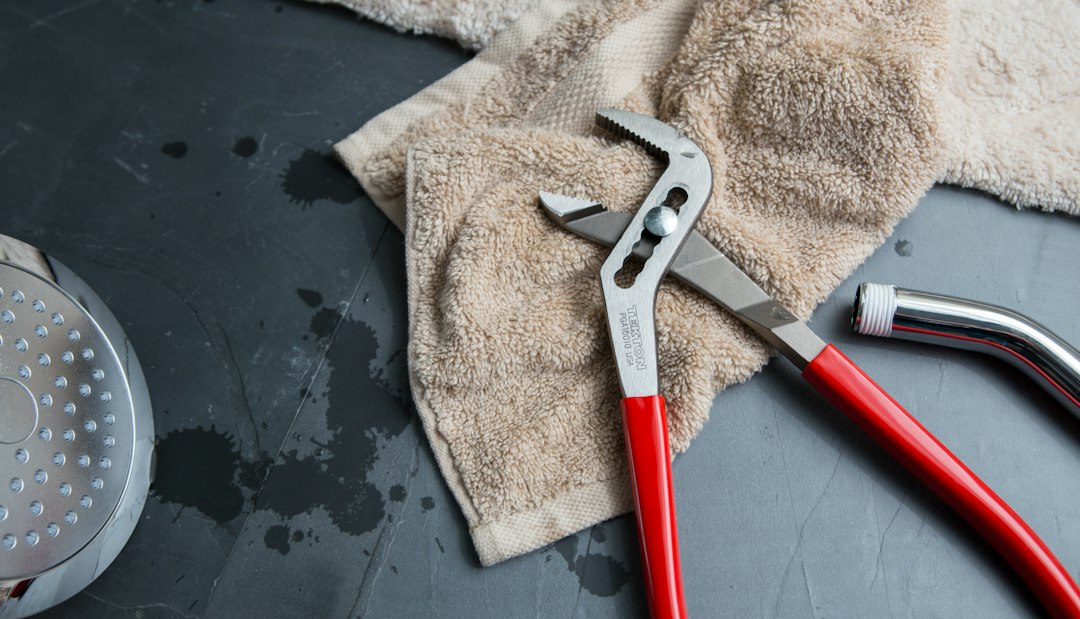
Photo: Tekton on Unsplash.
How to replace a showerhead
1. Turn the shower off and protect the area
Turn the shower controls fully off and let the existing head drain. You normally do not need to shut off the home’s main water supply for a straightforward showerhead-only swap, but do not proceed if water continues to flow from the shower when the valve is off. Put a towel in the tub or shower to protect the surface and catch small parts.
2. Remove the old showerhead carefully
Try turning the old showerhead counterclockwise by hand. If it is stuck, wrap a soft cloth around the connection nut and use an adjustable wrench with controlled pressure. Keep the shower arm steady so it does not twist where it enters the wall. Do not grip or bend the arm itself, and stop if the pipe begins moving at the wall or the fitting feels badly corroded.
3. Clean and inspect the exposed threads
Remove old thread tape and loose mineral deposits with a soft cloth or brush. Avoid scratching or deforming the threads. Check the shower arm for cracks, deep corrosion, damaged threads, or signs that the wall connection is loose. If you see any of these problems, leave the new head off and arrange a professional repair.
4. Check the washer and whether thread tape is required
Look inside the new showerhead’s threaded inlet for the supplied rubber washer or gasket. Install it in the position shown in the manufacturer’s instructions. Some showerheads seal at a washer inside the connection and are designed to be hand-tightened; other products specify plumber’s thread-seal tape on the shower-arm threads. These methods are not interchangeable for every model.
Use PTFE tape only when the instructions for your specific showerhead call for it, and apply it only to the pipe threads identified by the manufacturer. Do not add tape to a washer-sealed swivel or hose fitting unless its instructions specifically require it. The U.S. EPA’s WaterSense maintenance guidance also recommends pipe tape when needed to secure a leaking showerhead connection.
5. Thread the new showerhead on by hand
Align the new head squarely with the shower-arm threads and turn it clockwise by hand. If it does not turn smoothly for the first few rotations, back it off and realign it rather than forcing it; cross-threading can damage the fitting. Tighten according to the product instructions. Many models with an internal washer are hand-tightened, and overtightening can damage the connection or finish.
6. Turn the water on and check for leaks
Turn on the shower and let it run while you inspect the connection. Look for drips around the nut, spray escaping from the joint, or water appearing where the shower arm enters the wall. Check again after the shower has been running for a minute or two. If the connection leaks, turn the shower off, remove the head, and check that the washer is present, seated correctly, and undamaged. Reinstall it using the manufacturer’s specified sealing method rather than tightening harder and harder.
Choosing a water-efficient replacement
If you are replacing an older showerhead, consider a model with the EPA WaterSense label. WaterSense-labeled showerheads are independently certified and use no more than 2.0 gallons per minute while meeting EPA performance criteria for spray force and coverage. Check the product packaging and the WaterSense product information before buying; do not remove or modify a flow-control component to change the rated flow.
If the spray becomes uneven later, mineral scale may be blocking some outlets. The EPA recommends periodically inspecting showerheads for scale and cleaning with a suitable product or white vinegar. Follow your model’s care instructions, especially for specialty finishes, rubber nozzles, filters, or electronic components.
When to call a plumber
Stop the DIY work and get professional help if the shower arm is loose at the wall, the pipe turns inside the wall, threads are badly corroded or damaged, water leaks from behind the wall, or the shower valve will not shut off completely. A plumber can replace a damaged arm or repair a concealed connection without risking additional damage to the wall or plumbing.
Frequently asked questions
Do all showerheads need plumber’s tape?
No. Some models seal with a washer or gasket inside the connection and do not call for tape at that joint. Other models specify thread-seal tape. Follow the installation sheet supplied with your exact showerhead.
Can I use a wrench to tighten the new showerhead?
Only if the manufacturer’s instructions allow it. Some connections are designed to be hand-tightened. If a wrench is permitted, protect the finish with a soft cloth and use only the amount of tightening specified. More force is not a substitute for a correctly seated washer or the correct seal.
Why does my new showerhead still drip at the connection?
The washer may be missing, damaged, or out of position; the threads may be cross-threaded or damaged; or the product may require a different sealing method. Turn the water off and inspect the connection. If the shower arm itself is loose or the leak appears at the wall, call a plumber.
Final check
A careful showerhead replacement comes down to compatibility, clean threads, the correct washer or tape for the model, and a leak check before you finish. If the pipe at the wall is damaged or loose, do not force the job—have the underlying connection repaired first.
For related maintenance, see our guides on clearing a slow shower drain safely and cleaning a faucet aerator to restore water flow.
Sources and product guidance
- U.S. EPA WaterSense: Home Maintenance — showerhead connection checks and scale cleaning.
- U.S. EPA WaterSense: Showerheads — certification, efficiency, and performance information.
- Moen: Nebia Quattro Handshower Set-Up Guide — an example of model-specific washer placement and hand-tightening instructions. Always use the instructions supplied with your own product.