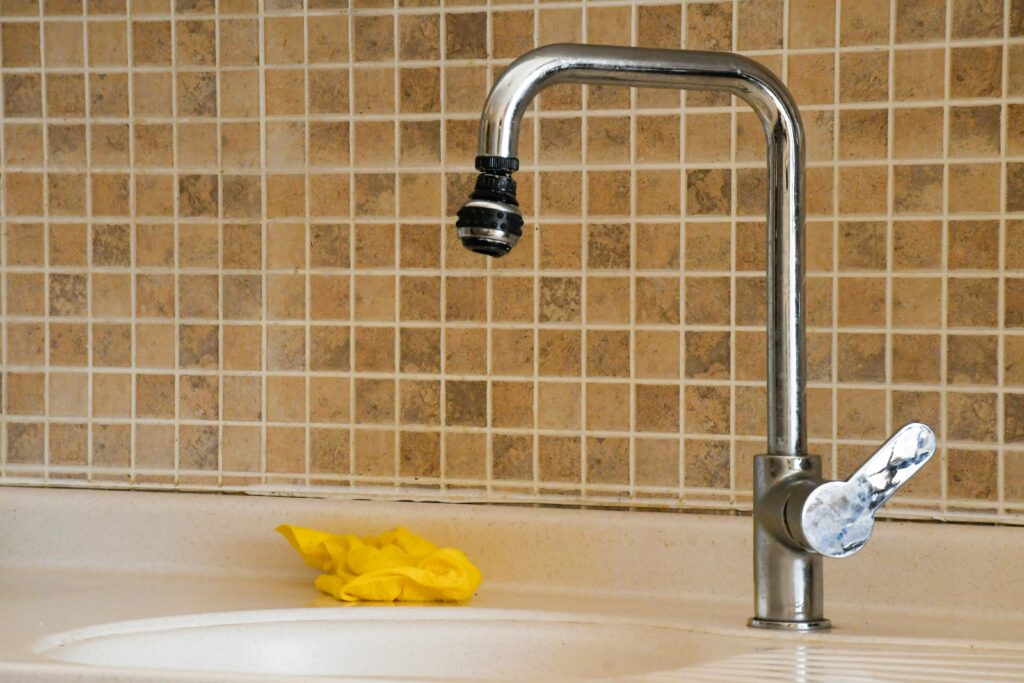
A faucet that suddenly slows to a trickle does not always mean there is a problem with your home’s water pressure. The small screen at the tip of many kitchen and bathroom faucets—the aerator—can collect mineral scale and bits of debris that restrict water flow or make the stream spray unevenly. Cleaning it is a simple maintenance task when the aerator is designed to be removed.
This guide explains how to identify, remove, clean, and reinstall a faucet aerator safely. Faucet designs vary, so use your faucet manufacturer’s instructions whenever they differ from these general steps.
What a Faucet Aerator Does
An aerator is a small fitting at the end of a faucet spout. Its screen and internal parts shape the stream and help mix air with water. Over time, mineral deposits and loose particles can collect in the screen. The U.S. Environmental Protection Agency recommends periodically checking faucets for scale or calcium buildup and cleaning or replacing an aerator when buildup restricts flow.
Signs the Aerator May Be Clogged
Look for one or more of these symptoms:
Reduced flow at one faucet: Other sinks and showers work normally, but this tap runs slowly.
An uneven or spraying stream: Water shoots sideways, splutters, or comes out in an irregular pattern.
Visible mineral buildup: White or chalky deposits appear around the spout opening.
If several fixtures lose pressure at the same time, the aerator is less likely to be the only cause. The issue may involve a shutoff valve, supply line, pressure regulator, or a wider plumbing problem.
Tools and Supplies
Have a soft cloth or towel, a small bowl, an old soft toothbrush, and clean water ready. You may also need adjustable pliers and masking tape or a rubber jar-opener for a tight metal housing. Use the correct aerator key if your faucet has a recessed or hidden aerator. White vinegar can help with mineral deposits, but check the faucet manufacturer’s care instructions first, especially for specialty finishes or plastic components.
How to Clean a Faucet Aerator Step by Step
1. Protect the sink and close the drain
Place a towel in the sink and close or cover the drain. Small screens, washers, and inserts are easy to lose. Turn the faucet off before you begin.
2. Identify the aerator style
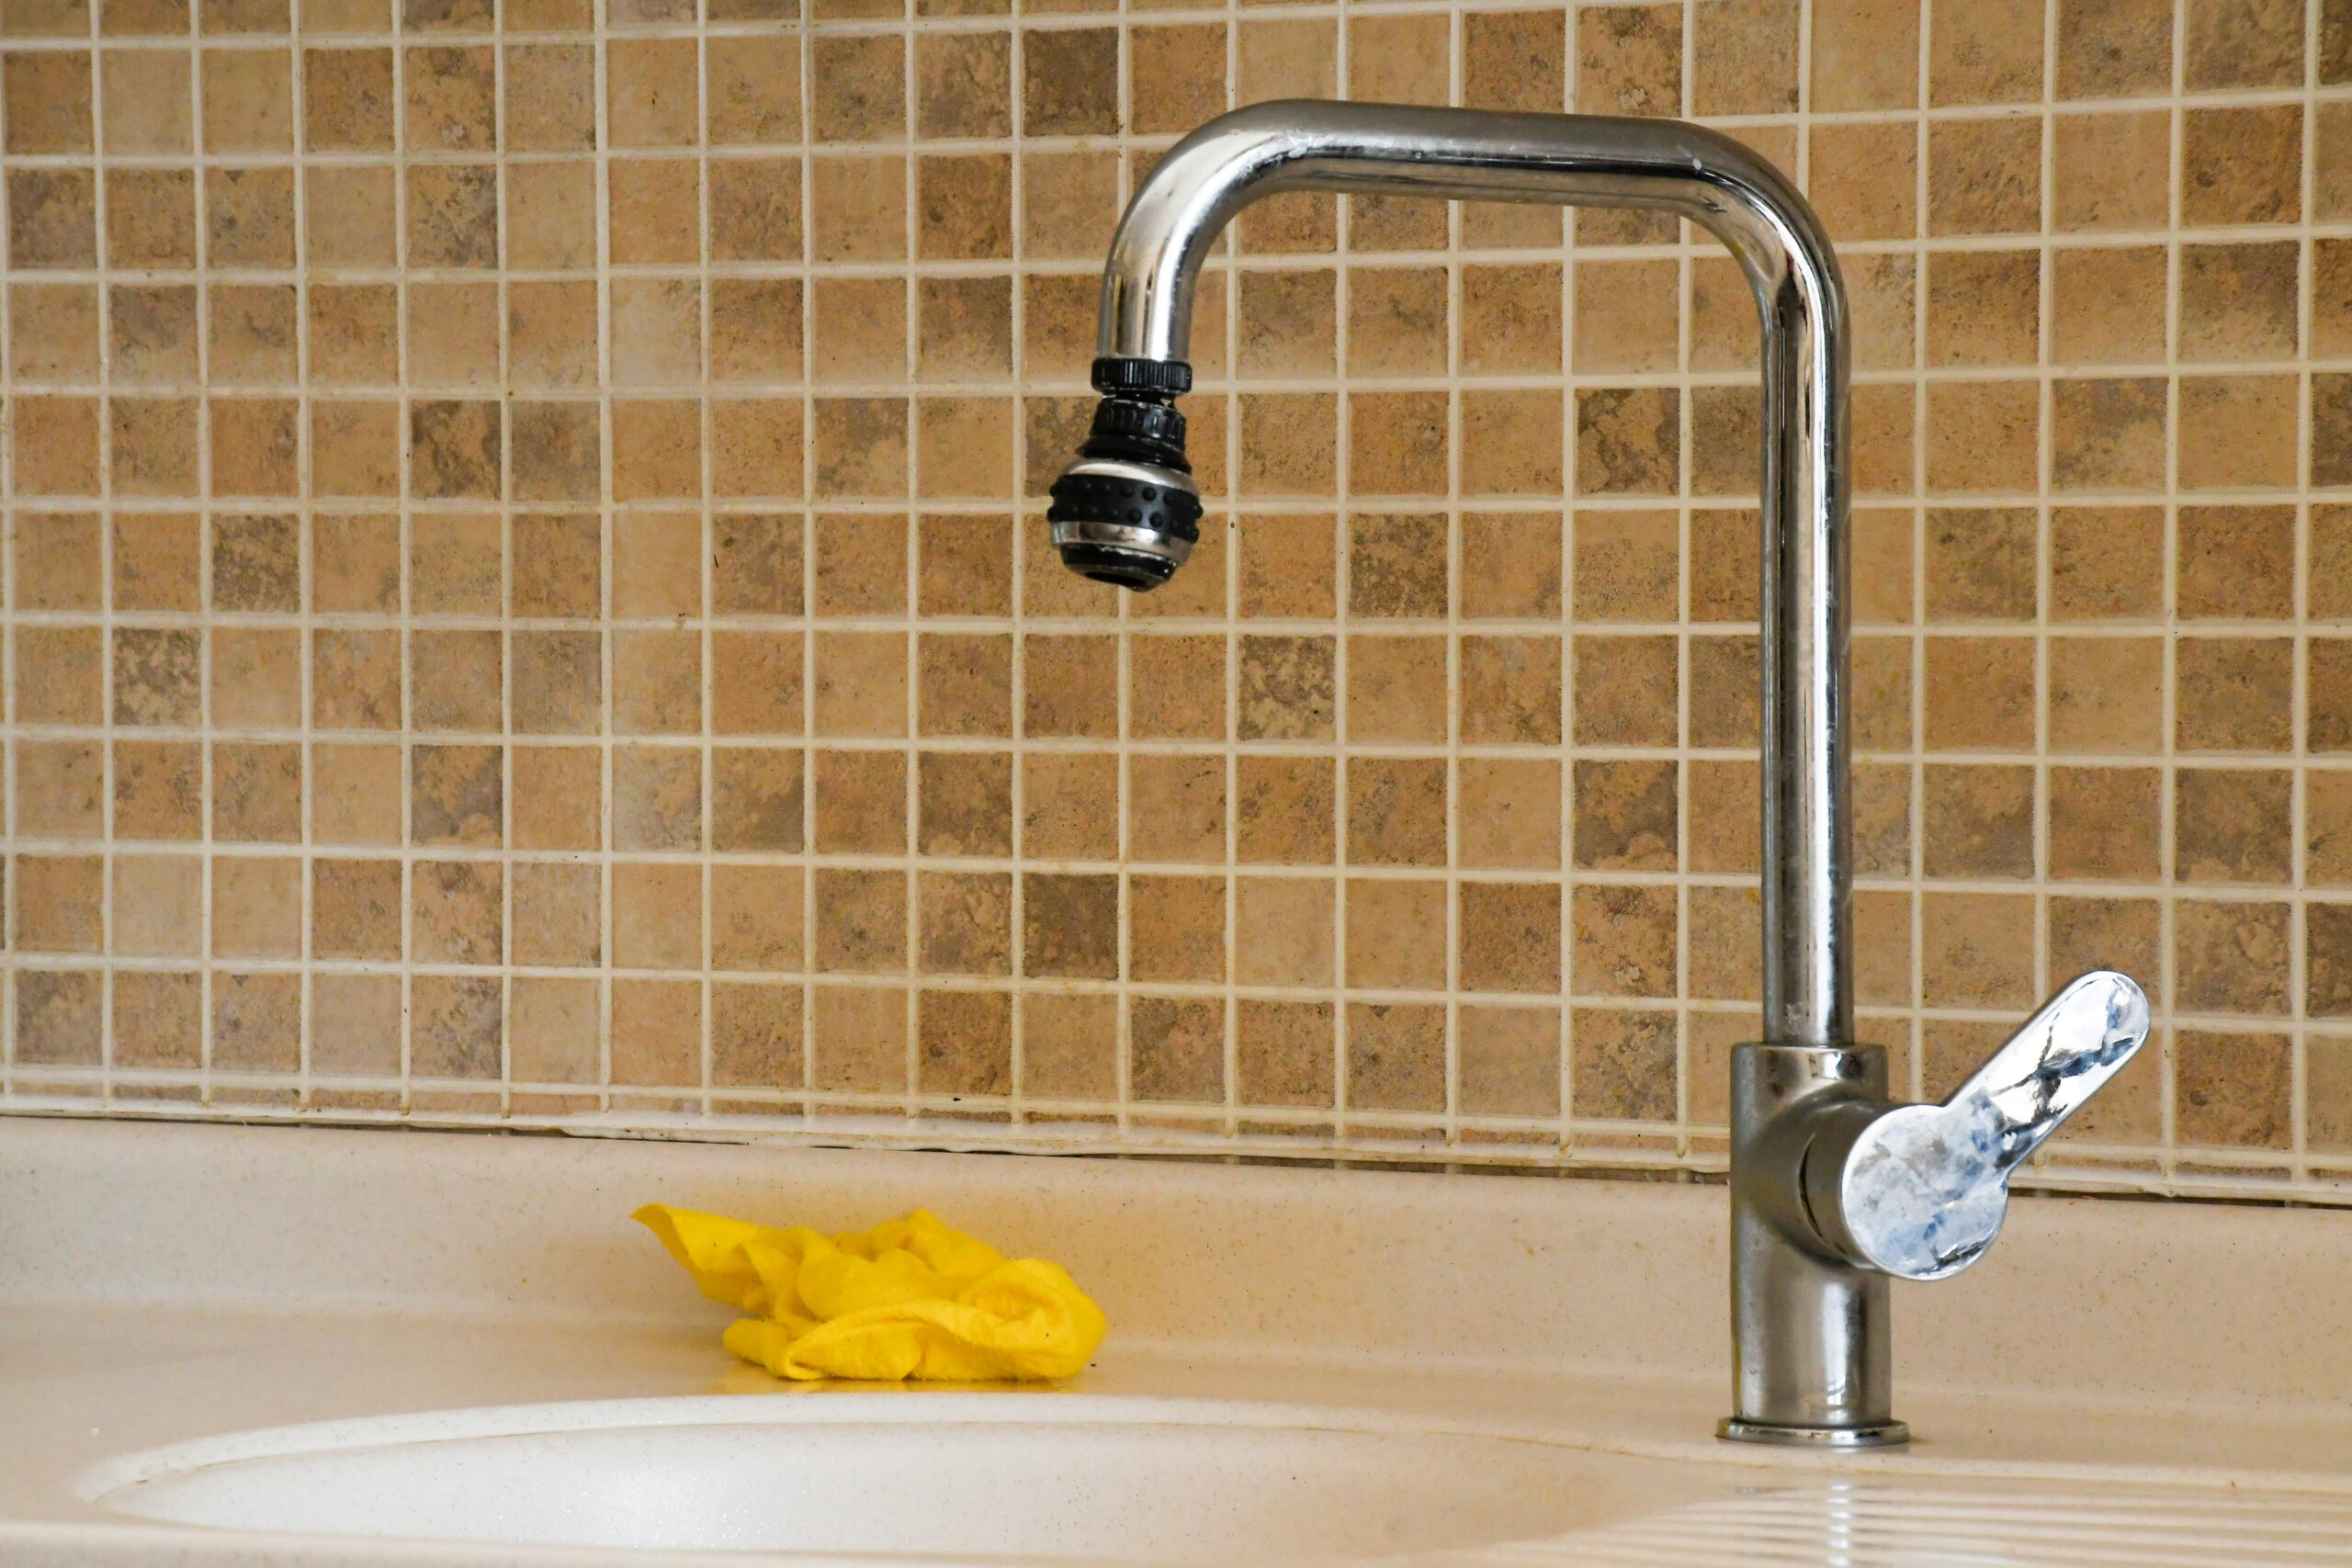
Look at the tip of the spout. An exposed aerator usually has a small metal housing that you can grip. A recessed aerator sits inside the spout and often needs a model-specific key. Some faucets have an integrated spray head or a different filter arrangement rather than a removable aerator. Check the product manual if you cannot identify the fitting.
3. Remove the aerator gently
For many exposed aerators, the housing loosens by hand. Thread direction varies with the fitting, so consult the manufacturer’s instructions rather than forcing it. If you use pliers, wrap the housing with a soft cloth or protective tape first to reduce the chance of scratching the finish. For a concealed aerator, use the correct removal key. Stop if the fitting will not move; excessive force can damage the spout or threads.
4. Keep the parts in order
Carefully separate the housing, screen, and any washers or flow inserts if the design allows it. Lay the pieces out in the order they came out. Some aerators are sealed or assembled as one unit and should not be taken apart.
5. Rinse and remove deposits
Rinse loose grit from the screen under running water. Gently brush away remaining particles with a soft toothbrush. For mineral scale, follow the faucet maker’s cleaning directions. If the manufacturer permits vinegar on the removable aerator parts, a brief soak may help loosen deposits; rinse thoroughly afterward. Do not use needles, knives, wire, abrasive pads, or harsh chemical cleaners that could enlarge the screen openings or damage the finish.
6. Flush the faucet before reinstalling
With the aerator still removed, briefly run the faucet into the sink to clear loose debris from the spout. Keep the flow controlled to avoid splashing. If the faucet manufacturer’s instructions specify a flushing procedure or time, follow that procedure.
7. Reassemble and check for leaks
Put the parts back in their original order and orientation, making sure the washer is seated correctly. Reinstall the aerator according to the manufacturer’s directions and tighten it gently—do not overtighten. Turn on the faucet and check that the stream is even and that no water leaks around the aerator connection.
If Cleaning Does Not Restore the Flow
First, compare the flow from nearby fixtures. If only one faucet is affected, check that its hot- and cold-water shutoff valves are fully open and look for a kinked or damaged supply line. Some faucet models use in-line filters or cartridge screens that can also collect debris; consult the manufacturer’s model-specific instructions before attempting to service those parts.
If both hot and cold flow remain weak, several fixtures are affected, a shutoff valve is stuck, or you notice leaks, unusual noises, or discolored water, stop troubleshooting and contact a licensed plumber. Persistent low pressure can have causes beyond the faucet itself.
How Often Should You Check a Faucet Aerator?
There is no single cleaning interval that suits every home. Water conditions, fixture use, and manufacturer guidance all matter. Inspect the aerator when a stream becomes uneven or noticeably weaker, and include a quick visual check in routine faucet maintenance. Clean or replace it when scale or debris is restricting flow.
The Bottom Line
A clogged faucet aerator is a common, manageable reason for weak or uneven flow at a single tap. Identify the fitting, protect the finish, clean it gently, flush the spout, and reinstall the parts in the correct order. If the problem affects multiple fixtures or continues after basic checks, get professional help rather than forcing parts or dismantling unfamiliar components.
Helpful References
For model-specific removal and care instructions, see Moen’s Faucet Aerator Cleaning guide. For general faucet maintenance, see the U.S. EPA WaterSense home maintenance guidance.