
Replacing a refrigerator water filter is usually a straightforward maintenance job, but the cartridge style, shutoff procedure and flushing amount vary by model. The safest approach is to identify the exact refrigerator model first and follow its owner’s manual—not assume every filter twists out or that every system needs the same amount of flushing.
This guide explains how to choose the correct replacement, change a common built-in cartridge, check the accessible water line and spot problems that call for an appliance technician or plumber.
What a refrigerator water filter does—and what it does not
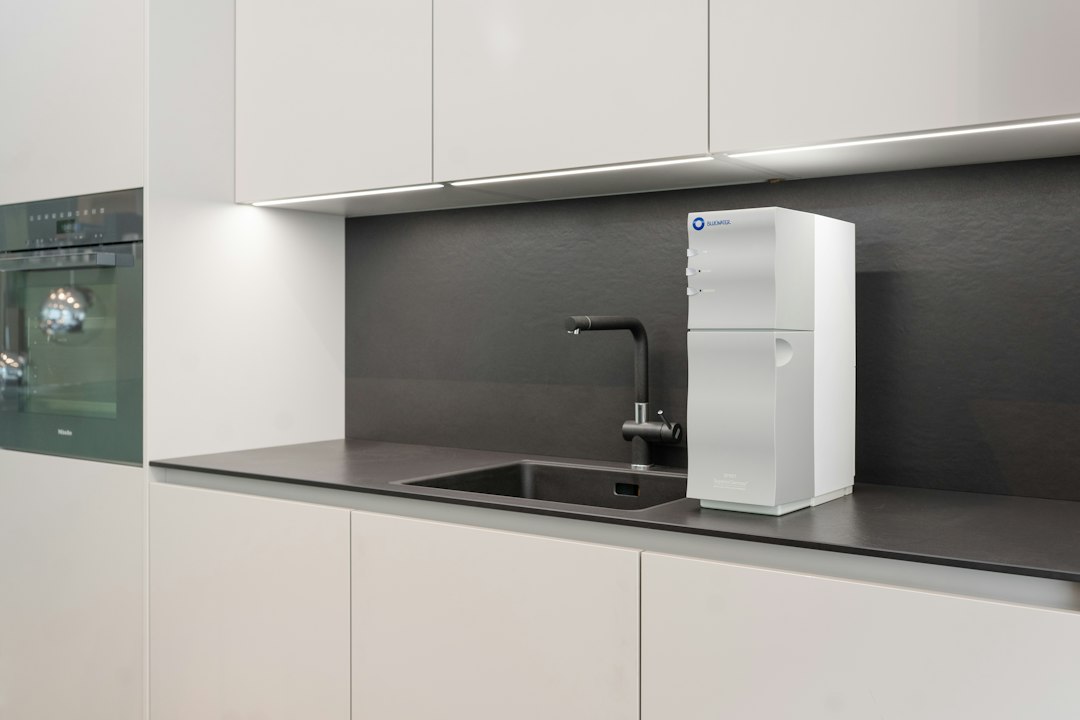
Many refrigerator filters improve taste and odor and may reduce specific contaminants when the exact cartridge is certified for those claims. A filter’s appearance, brand name or the words “carbon” and “purifying” do not tell you everything it removes. The CDC notes that most refrigerator and pitcher filters are not designed to remove germs. If you are addressing a particular health concern, check your water utility’s annual Consumer Confidence Report or have private-well water tested, then select a filter certified for the specific contaminant.
Look at the performance data sheet and the certification listing for the exact cartridge. NSF/ANSI 42 is commonly associated with aesthetic effects such as taste and odor; NSF/ANSI 53 covers specified health-effect contaminant reduction claims. The standard number alone is not a promise that a filter removes every contaminant. For lead reduction, the EPA advises looking for an accredited third-party certification and an explicit lead-reduction claim under NSF/ANSI 53.
When should you replace the refrigerator filter?
Use the filter-status light and the replacement interval in your refrigerator manual. Some manufacturers recommend replacement at least every six months, while actual timing can depend on the cartridge’s rated capacity, water quality and household use. Replace it sooner if the manual’s indicator says to, or if water flow from the dispenser or ice maker drops noticeably and the supply line is not kinked.
Do not wait for a change in taste or smell to decide whether water is safe. Some contaminants cannot be detected by sight, taste or odor. A filter indicator is a maintenance reminder; it is not a water-quality test.
Find the correct replacement filter
- Find the refrigerator model number. Check the label inside the fresh-food compartment, around the door frame or in the location shown in the manual.
- Identify the filter location and style. Common arrangements include a cartridge inside the refrigerator compartment, a filter in the lower base grille, or a separate inline filter behind the appliance.
- Match the cartridge to the model. Use the manufacturer’s parts list or a replacement explicitly listed as compatible with your full model number. Similar-looking cartridges are not necessarily interchangeable.
- Review the performance data. If you need reduction of a particular contaminant, verify that the exact filter model has a current third-party certification for that specific claim.
Keep the new cartridge’s instructions nearby. They will tell you whether the household supply should be shut off, how the cartridge locks into place, how much water to flush and which ice batches to discard.
What you will need
- The correct replacement cartridge for your refrigerator model
- Your refrigerator owner’s manual or installation guide
- A small towel and shallow container to catch drips
- A flashlight for inspecting the filter housing and accessible tubing
- A clean cloth for wiping up water
How to replace a refrigerator water filter step by step
1. Read the model-specific instructions first
Check the manual before touching the filter. Some cartridges have a push-button release, some turn a quarter-turn, and others pull straight out. Some housings are designed to seal automatically; other arrangements require the water supply to be shut off first. If the manual says to turn off the ice maker or close the refrigerator’s water shutoff valve, do that. Do not force a stuck filter or guess at the release direction.
2. Protect the floor and prepare for a small spill
Place a towel and shallow container below the filter area. A little water may remain inside the old cartridge or housing. Keep the area around electrical controls dry and do not handle a plug or outlet with wet hands.
3. Remove the old cartridge using its release method
Press the eject button, turn the cartridge or pull it straight out—whichever method your manual specifies. Keep it upright if the instructions recommend that position. If it resists, stop and recheck the release steps. Prying at the housing can break a plastic latch or damage the seal.
4. Inspect the filter opening and seals
Look for a cracked housing, damaged threads, debris or an O-ring that has come out of position. Wipe accessible surfaces with a clean damp cloth. Do not use household cleaners inside the water passage. Remove any protective caps from the new cartridge only when the instructions say to do so, and check that its sealing rings are present and undamaged.
5. Install the new cartridge
Align the arrows, tabs or guide marks shown in the manual. Push or turn the filter until it is fully seated and the latch or eject button returns to its normal position. On models that reuse a cap from the old cartridge, transfer it exactly as the manufacturer describes. Give the cartridge a gentle pull to confirm that it is locked; do not overtighten or force it.
6. Restore the water supply and check for leaks
If you shut off the supply, reopen the valve slowly. Inspect the filter housing and any accessible connections for moisture. Dry the area, wait a few minutes and check again. If water continues to seep, close the supply valve and reseat the cartridge once according to the manual. If the leak remains, leave the water off and arrange service rather than repeatedly forcing the filter.
7. Flush the filter exactly as directed
Do not skip this step. Flushing helps clear air and any loose material from the new cartridge. The required amount is model-specific: one current Whirlpool manual, for example, directs owners of the covered models to dispense water in timed intervals until three gallons have passed through. Other models require a different volume or procedure. Follow your own manual rather than copying another refrigerator’s gallon amount.
8. Reset the filter indicator and prepare the ice maker
Use the reset sequence in the manual; button names and hold times differ. If your refrigerator has an ice maker, follow the manufacturer’s directions for when to turn it back on and whether to discard the first batch or batches of ice after a filter change. Do not assume the same discard quantity applies to every model.
Check the refrigerator water supply line
A filter change is a useful time to look at the visible portion of the refrigerator’s water line, especially if the dispenser is slow or you have noticed water near the appliance. The line may be copper or approved plastic tubing. Check only what you can reach safely without pulling hard on the refrigerator or bending the tubing.
- Look for kinks, crushing, cracks, damp fittings or mineral deposits around accessible connections.
- Make sure the refrigerator has not been pushed so close to the wall that it pinches the line.
- Check that the shutoff valve is fully open if the manual calls for it, but do not force a stiff or corroded valve.
- If the refrigerator must be moved for inspection, follow the appliance instructions and avoid stretching the water line. Amana advises unplugging the refrigerator before inspecting its supply line.
A kink can restrict flow, while a cracked tube or loose connection can leak and damage flooring or cabinets. If you find a damaged line, a leaking valve, or a connection you cannot safely reach, shut off the refrigerator’s water supply if you can do so safely and call a qualified plumber. For help locating the home’s main shutoff in a larger leak, see our guide to shutting off your home’s water supply.
You can also use our home water-pressure testing guide if several fixtures have low flow. For early signs of moisture around kitchen plumbing, read how to check under sinks for leaks.
Common problems after changing a refrigerator filter
The dispenser has little or no water
Check that the cartridge is the correct model and fully locked in place. Confirm that any shutoff valve you closed has been reopened and that the accessible supply line is not kinked. Complete the manual’s flushing procedure. If flow remains weak, the line, valve, filter housing or household pressure may need professional diagnosis.
The filter housing drips
Close the water supply valve if you can reach it safely. Check the cartridge alignment and visible seals against the manual. A damaged O-ring, cracked housing or incompatible cartridge can prevent a proper seal. Do not use sealant or lubricant unless the manufacturer specifically calls for it.
The water looks cloudy or sputters at first
Air in the system after a cartridge change can cause spurting. Continue the model-specific flushing procedure. If cloudiness, discoloration or unusual odor persists after the required flush, stop using the dispenser and contact the manufacturer or local water utility for guidance. Do not assume an unfamiliar water appearance is harmless.
The filter light stays on
Use the exact reset sequence in the manual. Some indicators are reset separately from the filter installation itself. If the light remains on after the correct procedure, consult the manufacturer’s troubleshooting information.
When to call a plumber or appliance technician
Call a plumber for a leaking or seized shutoff valve, damaged household tubing, a leaking wall connection, or a water-line installation that needs to be replaced or brought up to local code. A licensed appliance technician is usually the better contact for a broken filter housing, failed refrigerator inlet valve, dispenser controls or an indicator that will not reset. If water is reaching an electrical outlet or appliance wiring, keep clear and get qualified help rather than touching wet electrical components.
Frequently asked questions
Do all refrigerator water filters need to be changed every six months?
No. Six months is a common interval in some manufacturer manuals, but the correct schedule depends on the refrigerator, cartridge capacity, water quality and use. Follow the model’s indicator and instructions.
Can I use a generic refrigerator water filter?
Only if it is explicitly listed as compatible with your full refrigerator model and meets the performance requirements you need. If you rely on a filter for a particular contaminant, verify the exact cartridge’s third-party certification and contaminant-reduction claim.
Do I have to turn off the water before changing the filter?
It depends on the refrigerator’s filter design. Some housings are self-sealing; others require the supply valve to be closed. Follow the owner’s manual. If water continues flowing after the cartridge is released, close the supply valve if it is safely accessible.
How much water should I run through a new filter?
There is no single amount for every refrigerator. Follow the flushing volume and timing in your model’s manual, and follow its separate instructions for the ice maker.
Final takeaway
To replace a refrigerator water filter safely, match the cartridge to the exact model, use the correct release and locking method, flush the system as instructed and check the accessible supply line for leaks or kinks. A filter is only as useful as its verified contaminant-reduction claims and timely maintenance. If the housing, valve or tubing is damaged—or the leak does not stop—leave the water supply off and bring in the right professional.
Sources and further reading
- CDC: About Choosing Home Water Filters
- U.S. EPA: Consumer Tool for Identifying Filters Certified to Reduce Lead
- Whirlpool: Refrigerator Owner’s Manual — Water Filtration System (model-specific example)
- Amana: How to Check the Water Supply Line
Image credits
- Featured kitchen image: Anson Wilson on Unsplash.
- Water filtration system image: Bluewater Sweden on Unsplash.
- Water pitcher image: Jim Luo on Unsplash.