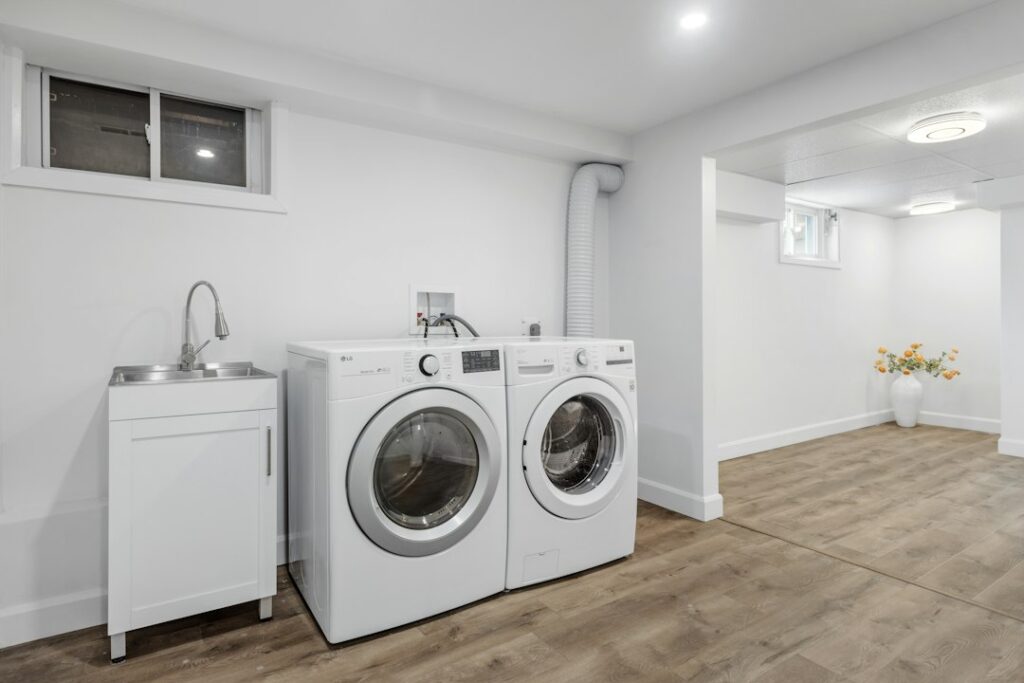
Washing machine supply hoses stay connected to pressurized water lines, including when the washer is not running. A split, worn, or poorly connected hose can release a surprising amount of water into a laundry room. Inspecting the hoses and replacing aging or damaged ones is a practical home-maintenance task—but the water and electrical connections need to be handled carefully.
This guide explains how to replace standard hot- and cold-water inlet hoses. Your washer’s installation manual takes priority because hose fittings and tightening instructions can vary by model.
When should washing machine hoses be replaced?
Check the full length of both hoses and the connection points periodically. Replace a hose promptly if you see bulges, cracks, cuts, kinks that will not straighten, worn or frayed outer material, corrosion at a fitting, or any sign of moisture. Do not wait for a scheduled replacement date if a hose looks damaged.
Replacement intervals depend on the washer and hose manufacturer. For example, Whirlpool advises replacing its washer inlet hoses after five years of use and replacing them sooner if wear or leaks appear. Check the maintenance guidance for your own appliance and write the installation date on the new hoses so you can track their age.
What you’ll need
- Two compatible washing machine inlet hoses, unless your washer uses a different approved configuration
- New hose washers or O-rings supplied or specified for the hose
- A small bucket and absorbent towels
- Slip-joint pliers or an adjustable wrench, if the installation instructions call for a tool
- A flashlight to inspect the valves and fittings
Choose hoses that match your washer model, connection type, and required length. Do not stretch a hose to reach the valve or use an adapter unless the appliance manufacturer approves it.
How to replace washing machine hoses
1. Turn off both water supplies and disconnect power
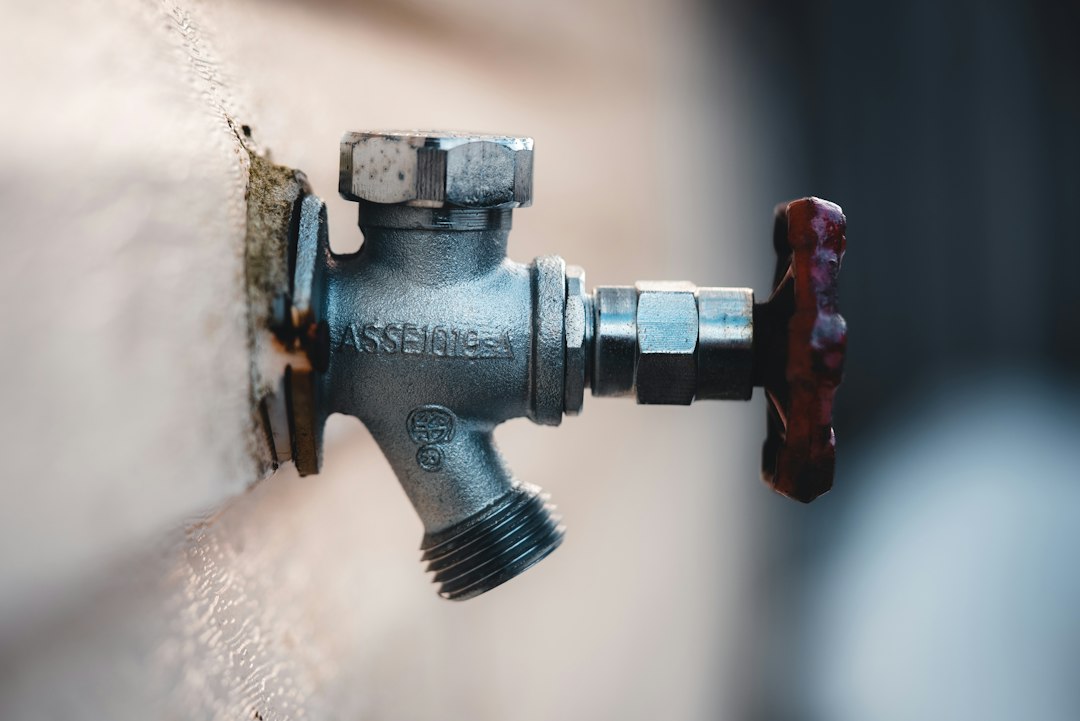
Find the hot- and cold-water shutoff valves behind or beside the washer. Close both valves fully. If a valve is stuck, badly corroded, or will not stop the water, do not force it or loosen a hose under pressure—contact a plumber.
With dry hands and the floor around the appliance dry, unplug the washer. If the plug or outlet is wet or inaccessible, do not touch it; switch off the correct circuit at the breaker if you can do so safely. Keep water away from electrical connections.
2. Make room and catch the remaining water
Carefully pull the washer forward only as far as needed. Avoid pulling on the power cord, drain hose, or water lines. Place a bucket and towels under the connections. A small amount of water normally remains inside the hoses even after the supply valves are closed.
3. Remove the old inlet hoses
Loosen the hose coupling at the wall valve, then at the washer, keeping the open end over the bucket. Repeat for the other hose. If a coupling will not move with reasonable pressure, stop rather than twisting or damaging the shutoff valve or washer inlet. A plumber can deal with seized or deteriorated fittings.
4. Check the fittings and install the new washers
Inspect the valve threads and the washer’s hot and cold inlet connections for damage, mineral buildup, or corrosion. Make sure each new hose has the correct washer or O-ring, and that it sits flat and fully inside the coupling. Use new sealing washers rather than relying on flattened or brittle ones from the old hoses.
Do not add thread tape or pipe sealant to hose connections unless your washer’s instructions specifically require it. Many washer hose couplings seal with the washer inside the fitting; Whirlpool’s installation instructions warn against tape or sealants on the valve connection.
5. Connect hot and cold hoses to the correct ports
Match the hose from the hot-water valve to the washer’s port marked “H” or “Hot,” and the cold-water hose to “C” or “Cold.” Follow the labels on your appliance and hoses. Start each coupling by hand so it does not cross-thread. Seat the washer, then tighten exactly as directed in the installation manual. Do not overtighten; excessive force can damage a coupling or valve.
6. Restore water slowly and inspect every connection
Keep the washer unplugged while you reopen the hot- and cold-water valves slowly. Look and feel around both ends of each hose for drips. If a connection leaks, close the water valves again, then check that the washer is seated correctly and the coupling is not cross-threaded. Refit it according to the manual; do not try to stop a leak by continually tightening harder.
When all four connections remain dry, plug the washer back in with dry hands. Run a short fill or rinse cycle while watching the connections. Check again after the cycle and once more after the washer is pushed back into position. Make sure the hoses are not kinked, pinched, or rubbing against a sharp edge.
Common mistakes to avoid
- Replacing only the visibly damaged section: Use a complete, compatible inlet hose rather than patching a pressurized supply hose.
- Reusing old washers: Fit the new washers or seals specified for the replacement hose.
- Mixing up hot and cold: Match the hose ends to the marked washer ports and supply valves.
- Overtightening: Follow the model-specific instructions; too much force can damage fittings.
- Ignoring a stiff shutoff valve: A valve that will not close fully should be repaired before the hose is disconnected.
- Skipping the leak test: Inspect the connections with the valves open and again while the washer fills.
When should you call a plumber?
Get professional help if a shutoff valve is seized, leaking from its stem or body, or will not stop the water; if the wall connection is corroded or loose; if a fitting is damaged; or if you cannot safely move or access the washer. If a hose bursts, close the appliance valves if safe. If they fail, use the home’s main shutoff. Our guide to finding your main water shut-off valve can help you locate it before an emergency.
Frequently asked questions
Should I replace both washing machine hoses at the same time?
If both hoses are the same age, replacing them together is a practical way to avoid leaving the older hose in service. Follow the appliance maker’s instructions and replace any hose that shows damage immediately.
Are braided stainless-steel hoses required?
Not every washer requires the same hose construction. Choose a hose approved for your appliance and water supply, with the correct fittings and length. A braided exterior does not eliminate the need for inspection or timely replacement.
Can I leave the washer’s water valves open when I travel?
Follow your washer’s manual for extended periods of non-use. Some manufacturers recommend turning off the water supplies when the washer will be unused for a while. Only operate the valves if they are in good condition and can be closed without force.
Manufacturer references
For model-specific connection details, consult your washer’s installation manual. Whirlpool provides additional guidance on checking washer fill hoses and its inlet-hose installation instructions.
Replacing worn washer hoses is a straightforward maintenance job when the shutoff valves work properly and the correct parts are available. Take time to shut off both supplies, use the new seals, follow the appliance instructions, and verify that every connection stays dry before returning the washer to service.